

Appliance cleaning should match the device, the materials, and the instructions for its exact model. A method that suits a removable coffee carafe may be unsuitable for a vacuum filter, a screen coating, or an electrical housing. Start by separating routine user care from work that needs a technician.
The seven checks below help you organise a practical routine without treating every appliance alike. Keep manuals and model numbers together, and avoid choosing a stronger cleaner simply because a mark is difficult to remove.
1. Read the appliance cleaning instructions
Find the care section for the exact model, including permitted cleaning materials and parts that may be removed. Check whether filters are washable, which accessories can be submerged, and whether dishwasher use is allowed. Similar-looking parts can require different treatment.
If the manual is missing, ask the manufacturer or supplier for the correct version. A general video or a guide for a different model is not proof that a component should come apart in the same way.
2. Prepare a suitable workspace
Follow the instructions for switching off and disconnecting power. Allow hot components to cool and moving parts to stop. Keep plugs, powered housings, and electrical openings away from liquids, and arrange enough space for the parts you may remove.
Do not move heavy or fixed equipment merely to clean behind it if doing so could strain connections or destabilise it. For a mounted screen or fixed AC, keep the installation requirements in mind and obtain appropriate help when access is unsafe.
3. Separate food-contact parts from powered housings
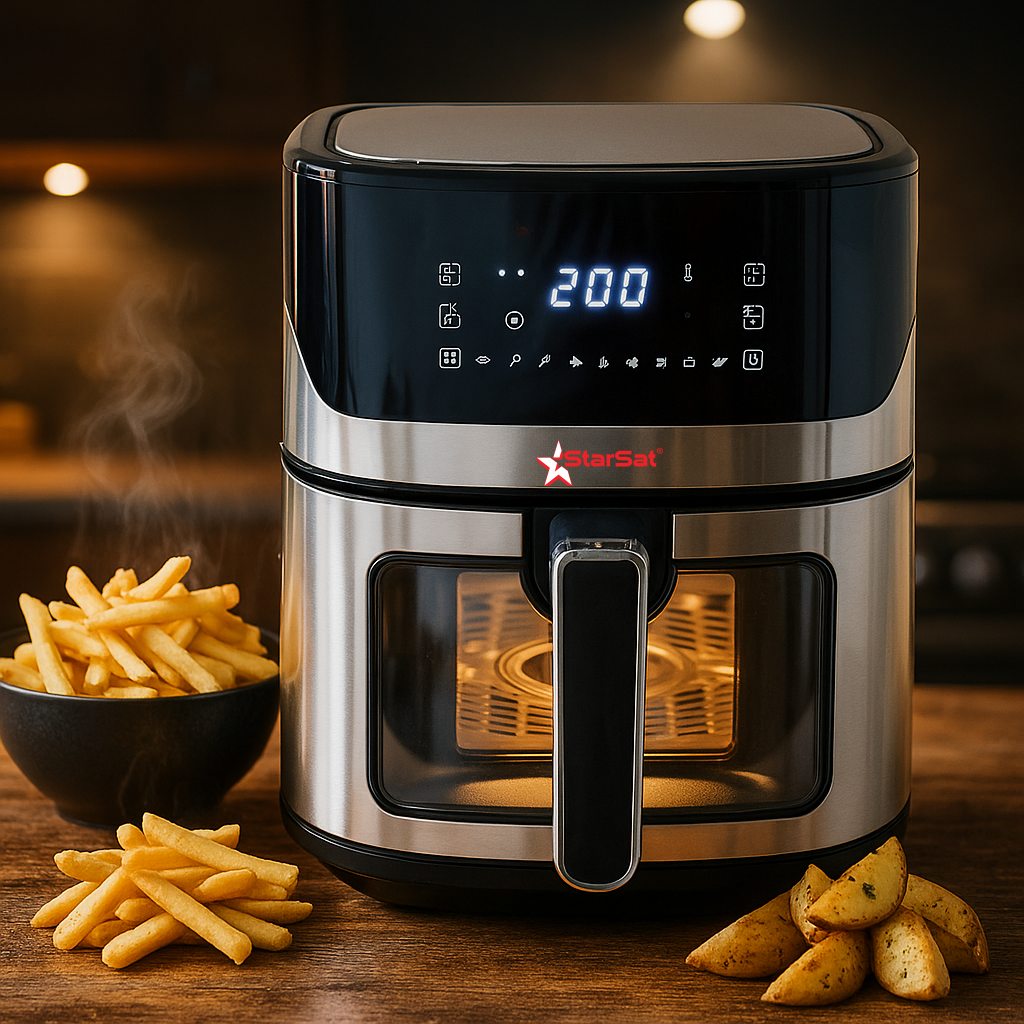
On kitchen appliances, approved removable baskets, trays, reservoirs, or carafes may have specific washing instructions. The main powered unit usually needs a different approach. Removable does not automatically mean dishwasher-safe.
Rinse food-contact parts as instructed and do not mix cleaners. Avoid abrasives on coatings unless expressly permitted. If a stain or grease deposit cannot be reached without opening an electrical compartment, stop and request model-specific guidance.
4. Check filters, brushes, and airflow
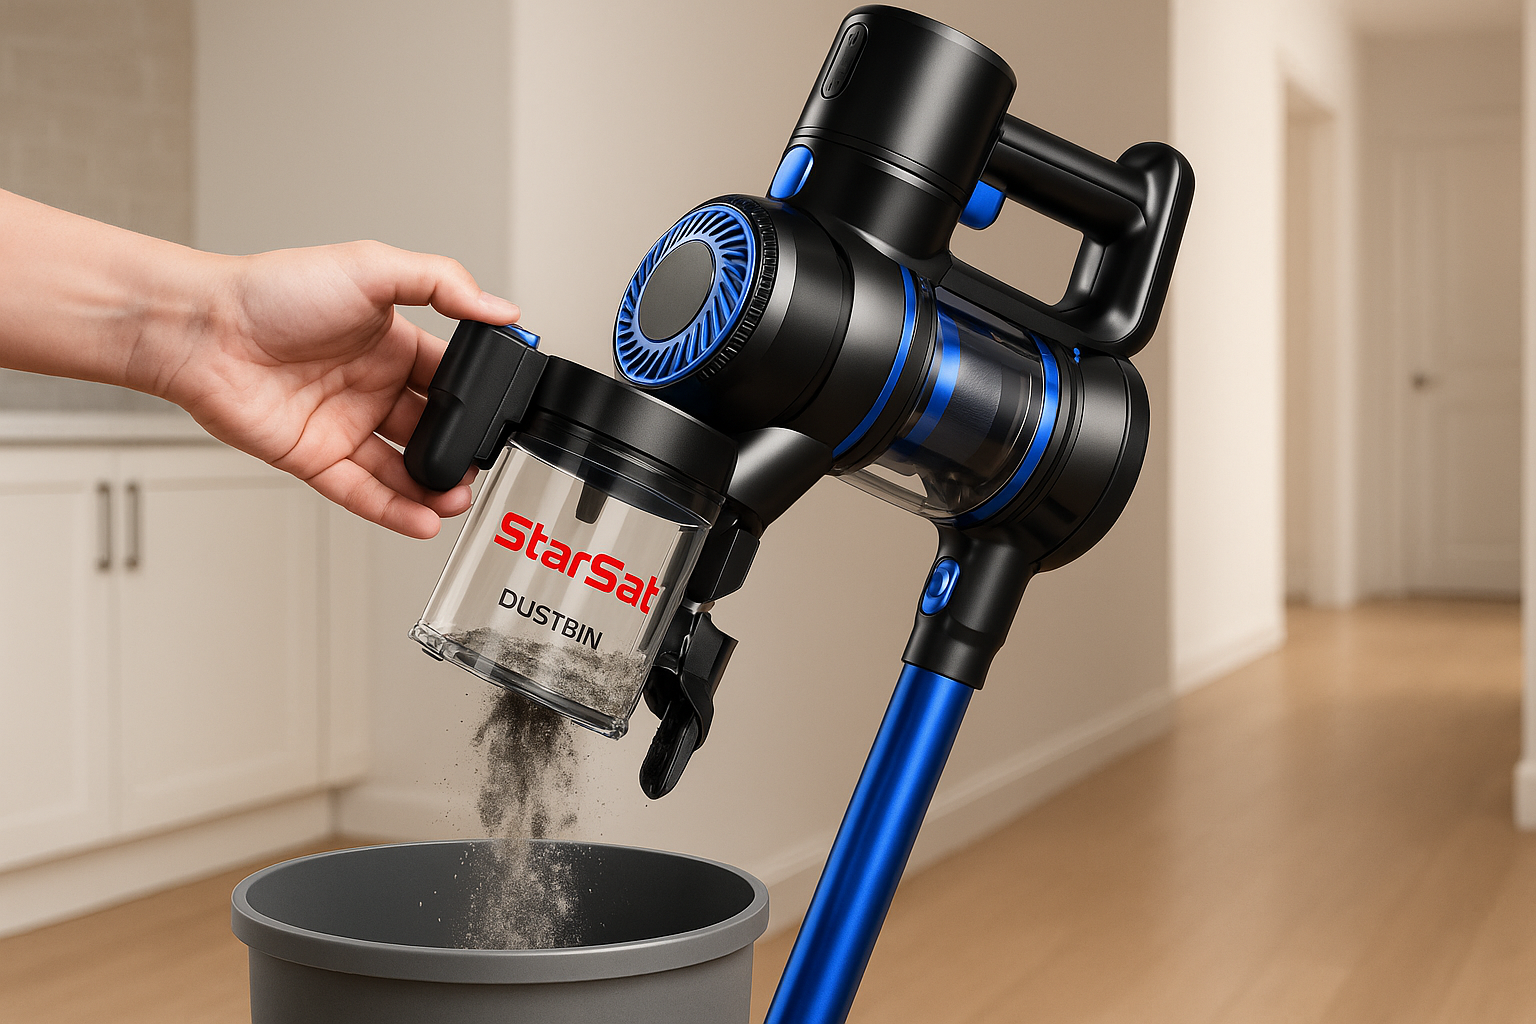
Inspect accessible filters and brushes according to the appliance’s usage and manual. A vacuum used frequently around hair may need brush attention more often than a lightly used machine. Empty bins before the marked limit and keep supported air paths clear.
Never wash a filter merely because another appliance’s filter is washable. Reinstall washable parts only after the prescribed drying process is complete. Do not operate equipment with a required filter removed to see whether suction or airflow improves.
5. Use the correct method for screens and surfaces
Screen coatings, controls, stainless surfaces, and plastic housings can react differently to cleaners. Use the approved cloth and method. Do not spray liquid directly into a screen edge, control, ventilation opening, or socket.
A gentle routine is preferable to repeated heavy scrubbing. Inspect accessible leads and fittings as you clean, but do not open covers or work on live electrical parts. For broader precautions, see Electrical Safety First’s spring-cleaning guidance.
6. Dry, inspect, and reassemble
Check recesses and joints where moisture may remain. Refit approved removable parts in their correct positions without forcing clips or handles. Compare the result with the manual’s diagram if the fit is unclear.
Appliance cleaning is not finished simply because the exterior looks clean. Confirm that the required filter, tray, guard, or basket is correctly seated. Resolve damaged parts, a loose support, or an electrical warning sign before putting the device back into use.
7. Keep a realistic appliance cleaning schedule
Distinguish after-use tasks from periodic inspection and professional service. Record what the manual requires and what you observe during normal use. Adjust inspections for dust, frequency of use, and residue rather than applying one calendar interval to every product.
Keep a short record of model details, replacement consumables, and recurring symptoms. This helps avoid buying an incompatible part and makes a support conversation more specific. A routine should be manageable enough to follow consistently.
Warning signs that need more than cleaning
Stop using equipment with suspected electrical damage, exposed wiring, a damaged power lead, or a persistent burning smell. Repeated shutdowns, leaks, unusual heat, or abnormal noises need assessment rather than repeated cleaning attempts.
Do not defeat a protective switch or keep resetting equipment to finish a task. Tell support what happened, when it happens, and whether the behaviour changed after a particular event. Never include passwords or private account details in a public request.
Appliance cleaning FAQs
Can one cleaner be used on every appliance?
No. Check the surface, the appliance manual, and the cleaner’s intended uses. Compatibility matters more than convenience.
Can every detachable part be soaked?
No. Some assemblies contain materials or components that must not be submerged. Follow the exact part’s care instructions.
Will cleaning fix every performance problem?
No. Maintenance can address dirt or blocked user-accessible parts, but it cannot correct every mechanical, electrical, installation, or software fault. Seek diagnosis when a problem persists.