📺✨ Step-by-Step: How to Set Up Your StarSat Receiver with Most TVs 🎯📡
Setting up your StarSat Receiver is quick, easy, and opens the door to a 🌍 world of endless entertainment 🎬🍿. Whether you’re unboxing the latest SR-260H4K or another StarSat model, this guide will walk you through each step like a pro 🚀💡.
🛠🔧 What You’ll Need 🧰
- 📦 StarSat Receiver (e.g., SR-260H4K)
- 🖥 TV with HDMI or AV input
- 🔌 HDMI cable or AV cables 🎥
- ⚡ Power adapter (For some receivers)
- 📡 Satellite dish
📝📦 Step 1: Unbox Your Receiver 🎁
Carefully unpack your StarSat receiver 📦 and accessories 🧩. Make sure everything is included ✅ and in perfect condition 💎.
🔌📺 Step 2: Connect to Your TV 🖥
- HDMI (Recommended) – For the sharpest quality ✨, plug one end of the HDMI cable 🔗 into your receiver and the other into your TV.
- AV Cables – If your TV doesn’t have HDMI, use the AV (red 🔴, white ⚪, yellow 🟡) cables instead.
📡 Step 3: Connect to Your Satellite Dish 🛰
Attach the coaxial cable 📏 from your satellite dish 🥏 to the LNB IN port on the back of your receiver.
⚙🎛 Step 4: Power On & Select Input 🔋
Plug the power adapter 🔌 into your receiver, switch it on 🟢, and use your TV remote 🎯 to select the correct input source (HDMI or AV).
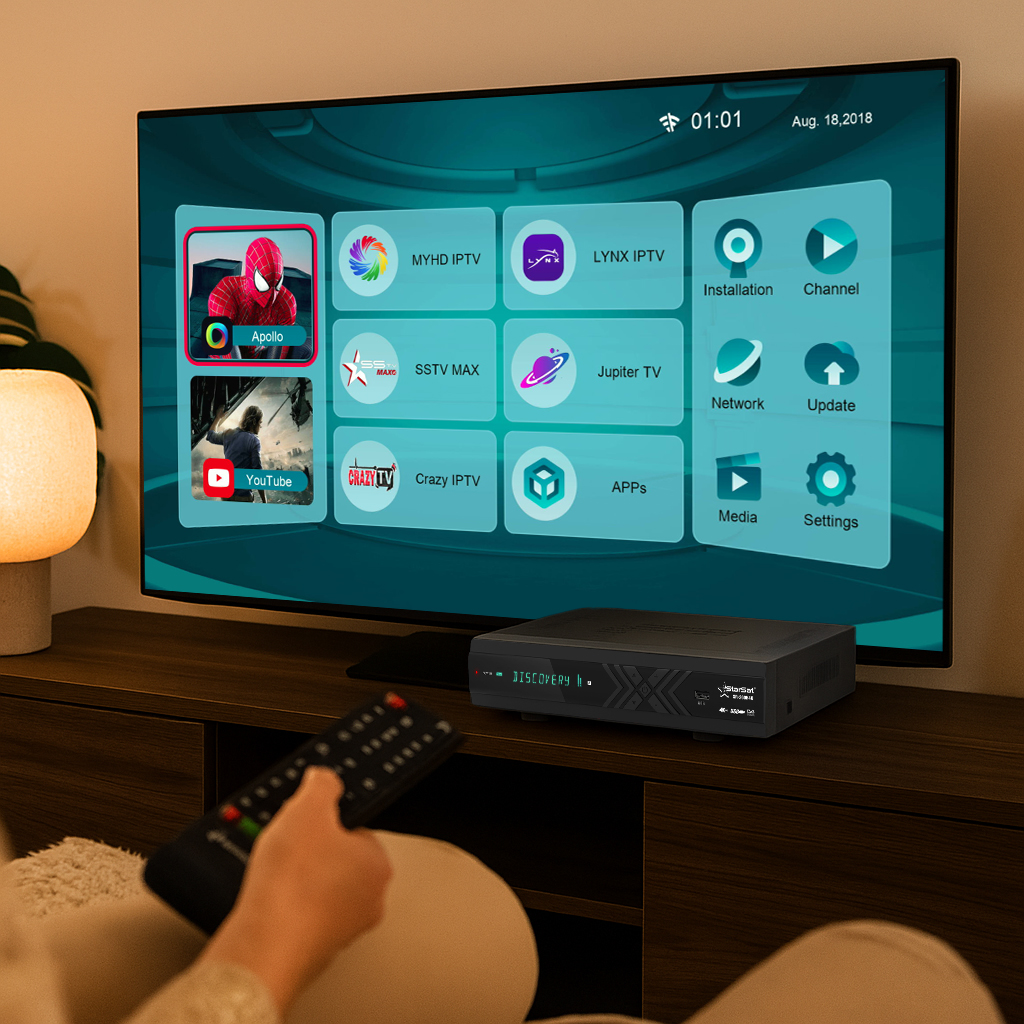
📺🔍 Step 5: Scan Channels 📡📜
Go to Menu → Installation → Satellite List, choose your satellite 🛰, and start scanning 🔄.
Soon you’ll have a full list of channels 🎉📻📺.
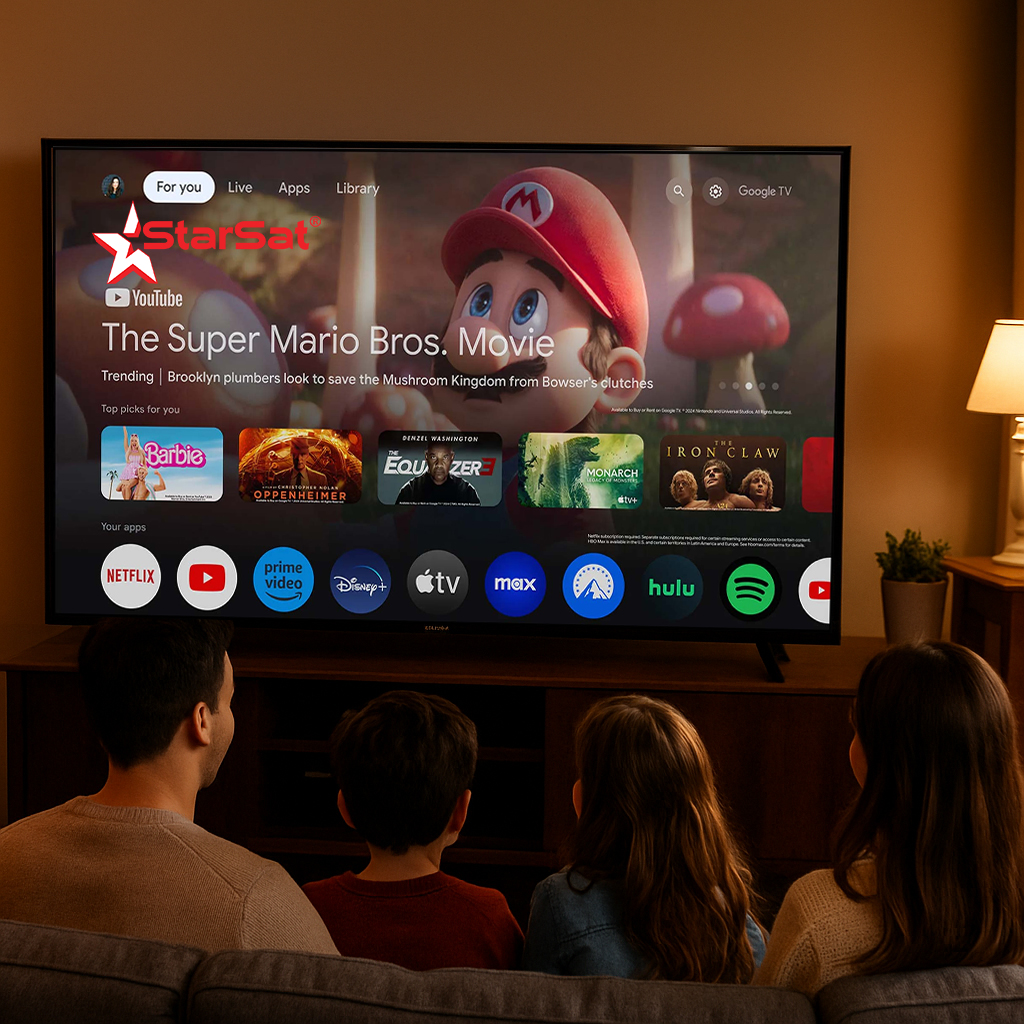
🎯🎬 Step 6: Enjoy Your StarSat Experience 💖
Now you’re ready to enjoy crystal-clear channels 📡✨, blockbuster movies 🎥🍿, and live sports 🏆⚽ with your StarSat receiver.
🌟🔗 Explore Our StarSat Products 📦:
- 🛰️ Sattelite Receivers: starsat.com/receivers
- 📺 Ultra HD Smart tvs: starsat.com/tv
- 🎯 LNBs: starsat.com/lnbs
- 📡Sattellite finders: starst.com/SF