📹 CCTV Setup for Beginners: A Quick Installation Checklist
✅How to setup CCTV on ur house for maximum protection
Installing a CCTV system might seem intimidating, but with StarSat’s ready-to-go camera kits, it’s easier than you think. This guide not only walks you through the steps but also explains exactly what’s inside your kit and how to use each part effectively.
✅ 1. Understand Your Security Needs
Start by assessing which areas around your property require surveillance:
- Main entrances and exits
- Garage and driveway
- Backyard or blind spots
- Indoor common areas
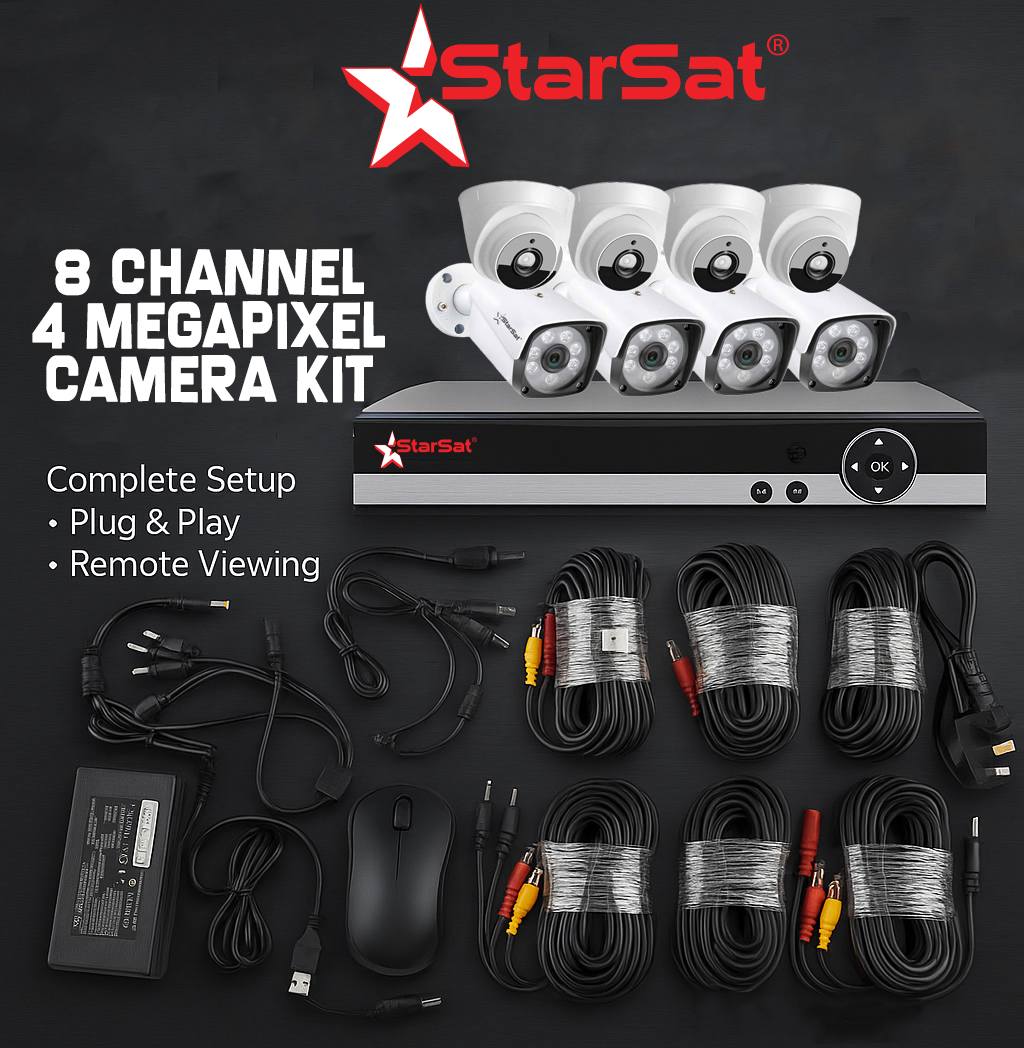
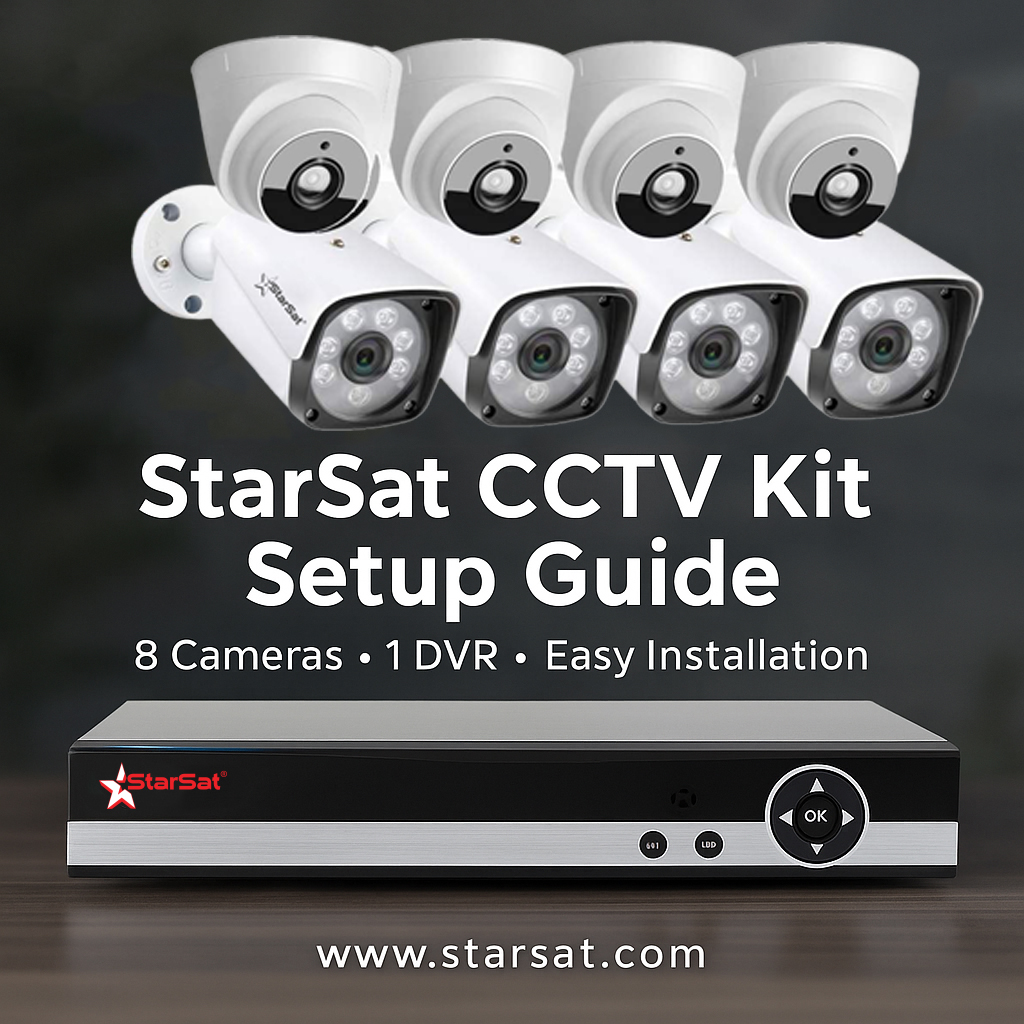
📦 2. What’s Inside Your StarSat CCTV Kit — And How to Use Each Item
StarSat camera kits come with all essential components for a full installation:
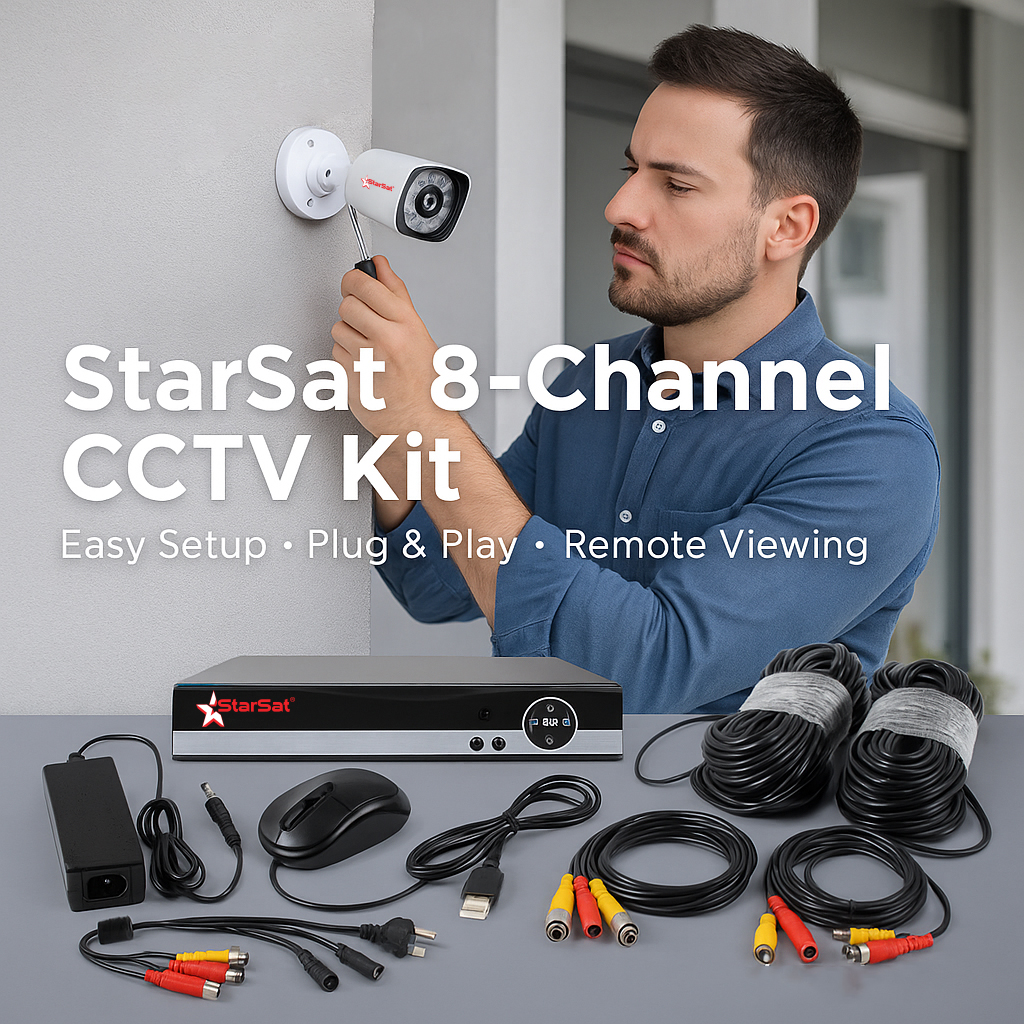
- Cameras (4 to 8 units): These are typically weatherproof bullet or dome cameras with night vision. Use them to cover critical points like doors, windows, and outdoor corners. Mount them about 8–10 feet high for optimal coverage.
- DVR (Digital Video Recorder) or NVR (Network Video Recorder): This is the system’s brain that records and stores footage from all connected cameras. Connect your cameras to this device using the cables provided. Place the DVR in a secure, dry location with power access.
- Power Supply Adapter: Powers your DVR and cameras. Plug it into a nearby power outlet. Some kits also include a PoE (Power over Ethernet) switch, allowing cameras to receive power and data through a single cable — simplifying wiring.
- Cables: Wired kits include BNC coaxial cables with power connectors, typically 15 meters long, for connecting cameras to the DVR. Run these cables discreetly along walls or inside conduits. Wireless kits may include Wi-Fi antennas for camera connectivity.
- Mounting Brackets and Screws: Use these to securely attach each camera to walls or ceilings. Make sure cameras are firmly fixed to prevent shaking or misalignment.
- Software/App: StarSat’s app allows remote live viewing, playback, and system configuration right from your smartphone or computer.
🛠️ 3. Prepare & Use Your Tools
Along with the kit contents, gather:
- A drill and screwdriver for mounting
- A monitor or TV to view the DVR output during setup
- A smartphone or PC to install and use the StarSat remote viewing app
📍 4. Plan Camera Locations
- Mount cameras at a height of 8–10 feet for optimal view angles.
- Focus on entry points and areas with limited visibility.
- Avoid direct exposure to bright lights or reflective surfaces to prevent glare.
🔌 5. Connect Your System
- For wired kits, connect each camera to the DVR using the provided cables, ensuring power cables are plugged in properly.
- For wireless kits, attach Wi-Fi antennas to cameras and DVR, then connect cameras to your home or office Wi-Fi network.
- Connect the DVR to your monitor or TV with HDMI or VGA cable.
- Power up the system using the included adapters.
📲 6. Configure & Customize
- Use the StarSat app or DVR interface to label cameras (e.g., “Front Door,” “Garage”) for easy identification.
- Adjust camera angles and focus for clear images.
- Set motion detection zones and notification preferences.
- Schedule recording times based on your security needs.
⚙️ 7. Test Your System
- Walk in front of each camera to verify motion detection and recording triggers.
- Check live feeds for clarity during day and night.
- Ensure notifications reach your smartphone promptly.
🧼 8. Maintain Your CCTV Kit
- Clean camera lenses regularly with a soft cloth to prevent dust buildup.
- Check cables and mounts periodically to confirm they’re secure and undamaged.
- Update system firmware using the StarSat app when updates are available.
- Review footage occasionally to verify recording quality.
✅ Final Thoughts
StarSat CCTV kits include everything you need: cameras, cables, power supplies, mounting hardware, and user-friendly software. Understanding each component’s role ensures a smooth installation and reliable security system tailored to your needs.